


In parks and schoolyards across the United States, the pull-up bar has a certain quiet authority. It’s simple, public and unforgiving. There’s no machine stack to blame, no lever to adjust, no footplate to hide behind. You hang. You pull. Or you don’t.
For a lot of people, that last part is the story: they can do push-ups—maybe even plenty of them—but pull-ups feel like a different species. The arms bend. The body doesn’t move. A few attempts later, the shoulders shrug up near the ears and the mood turns sour. The bar becomes a kind of judgment.
But the gap between push-ups and pull-ups isn’t a moral one. It’s mechanical. Push-ups train a pattern that most adults already do in daily life: pushing away, bracing, controlling the front of the shoulders and chest. Pull-ups ask for the opposite—strength in the back, grip endurance, and a kind of shoulder control that modern life doesn’t cultivate. We spend hours with our arms in front of us (keyboards, steering wheels, phones). Pull-ups demand that your shoulder blades move well behind you and down you, repeatedly, under load.
The fastest way to earn your first pull-up is not to “try harder” at pull-ups. It’s to build the missing pieces in a smart sequence—progressions that teach your body what “pulling” really means, while protecting the elbows and shoulders that tend to protest when beginners rush.
What follows are seven calisthenics progressions that work like a bridge: you start on the ground, where push-ups already made you competent, and you gradually climb into vertical pulling. The goal isn’t a single heroic rep. The goal is a pull-up you can repeat—cleanly, safely, and again next week.
Before You Start: Two Quick Truths
First: If you can do push-ups, you already have something valuable: core stiffness and shoulder stability under load. That matters more than you think.
Second: Most “pull-up injuries” aren’t dramatic. They’re the slow-burn kind: irritated elbows, cranky biceps tendons, tight forearms, a shoulder that feels pinchy. These usually come from skipping the boring steps—especially scapular control and gradual volume.
So we’ll start with the boring steps. Because boring steps are what keep you training.
Progression 1: Push-Up Plus → Scapular Control (The Shoulder-Blade Upgrade)
A push-up isn’t just chest and triceps. A good push-up teaches the shoulder blades to glide smoothly around the rib cage. That same skill—scapular movement—is the hidden foundation of pulling.
Step A: Push-Up Plus (Scapular Push-Up)
Get into a plank. Keep elbows straight. Without bending your arms, let your chest sink slightly as your shoulder blades come together. Then push the floor away until your upper back rounds gently and your shoulder blades spread.
- Goal: 2–3 sets of 8–12 slow reps
- Cue: “Long arms, wide back.”
Step B: Dead Hang (10–30 seconds)
Hang from the bar with straight arms. Let your body settle. Think “ribs down,” “legs long,” and “shoulders away from ears.”
- Goal: accumulate 60 seconds total (in sets)
- Cue: You’re not shrugging; you’re hanging tall.
Step C: Scapular Pull-Up (The first real pull)
From a dead hang, keep your arms straight. Pull your shoulder blades down and slightly back so your body rises just a little—often only an inch or two. Then return to a relaxed hang.
- Goal: 3 sets of 5–8 controlled reps
- Cue: “Put your shoulder blades in your back pockets.”
Why it works: Beginners often try to pull by bending the elbows first. That turns the movement into a biceps-and-hope situation. Scapular pull-ups teach the correct starting move: shoulder blades set, torso stable, then arms.
If something hurts: Forearm or elbow discomfort is a sign to reduce volume and build hang time more gradually. Use shorter hangs, more sets, and rest more.
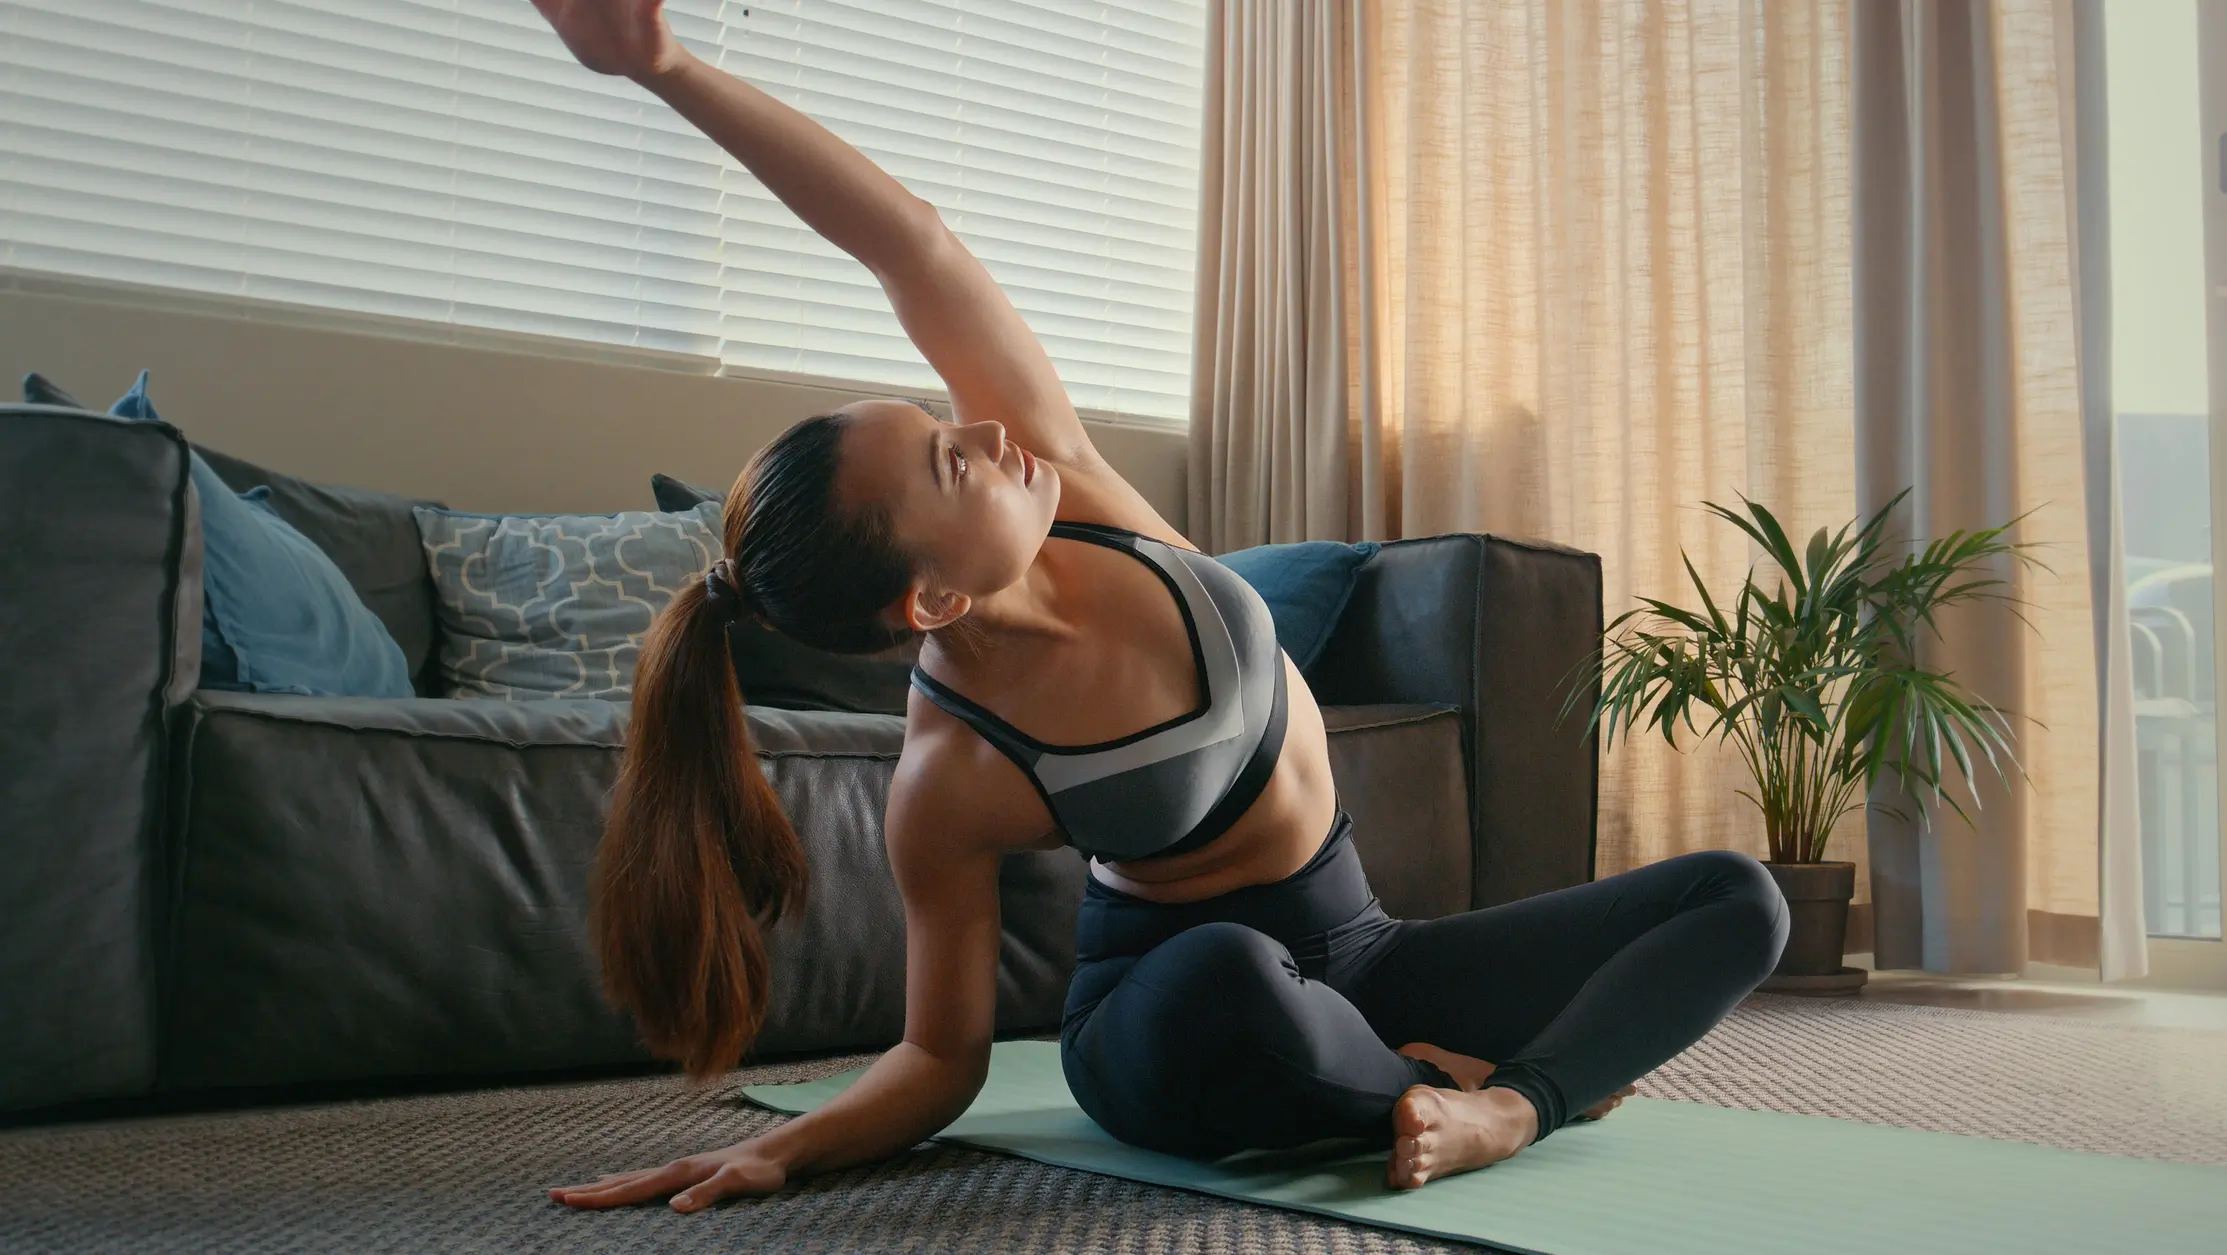
Progression 2: Plank Strength → Hollow Body (The Core That Makes Pull-Ups Possible)
Pull-ups look like an arm exercise until you do them properly. Then you realize it’s a full-body skill. The body has to stay rigid enough to transfer force from back to bar without swinging.
If your midsection is loose, the pull-up becomes a struggle between your lats and your momentum. It’s exhausting, and it often irritates shoulders.
Step A: Hollow Hold (20–40 seconds)
Lie on your back. Press your lower back into the floor. Lift shoulders and legs slightly. Arms overhead if possible.
- Goal: 3 sets of 20–40 seconds
- Cue: “Ribs down. Zip up the front of your body.”
Step B: Hollow Rock (10–20 reps)
Same position, gently rock forward and back without losing the lower-back contact.
- Goal: 2–3 sets of 10–20
- Cue: Smooth, not violent.
Step C: Hollow Hang (10–20 seconds)
Hang from the bar and slightly tuck your pelvis so your ribs don’t flare. Legs can be straight or lightly bent.
- Goal: 4–6 short holds
- Cue: “Quiet body. No swing.”
Why it works: The hollow position turns your body into one unit. That reduces the frantic kicking and swinging that makes pull-ups feel impossible—and unsafe.
Progression 3: Incline Push-Up Strength → Inverted Rows (Your First Real Pulling Volume)
If pull-ups are too hard, the answer isn’t to stop pulling. The answer is to pull in a position that lets you do enough reps to learn the pattern.
That’s what inverted rows are for. You can do them under a sturdy table, using a low bar at a playground, on rings, or with a Smith machine bar.
Step A: High Angle Row (Beginner)
Body more upright, feet closer to your hands, easier leverage. Pull chest toward the bar.
- Goal: 3 sets of 8–12
- Cue: “Chest to bar, neck long.”
Step B: Mid Angle Row
Walk feet forward, make your body more horizontal.
- Goal: 3–4 sets of 6–10
- Cue: “Pull elbows to your back pockets.”
Step C: Low Angle Row (Hard)
Body nearly horizontal, heels on the ground, torso stiff like a plank.
- Goal: 4 sets of 5–8
- Cue: Pause for one second at the top.
Why it works: Inverted rows build the back strength and scapular rhythm that pull-ups require, while giving you the volume beginners need. They also train grip in a manageable dose.
Common mistake: Letting hips sag. Treat it like a moving plank.
Progression 4: Negative Push-Ups → Eccentric Pull-Ups (The “Downhill” Strength Builder)
A classic beginner moment: you can’t pull up, but you can hold yourself at the top if someone helps you get there. That’s not cheating. That’s your entry point.
Eccentrics—lowering slowly—build strength and tendon tolerance fast. They’re also a common source of soreness and elbow irritation if overdone. The key is modest volume and great control.
Step A: Top Hold (5–15 seconds)
Use a box, jump, or a step to get your chin over the bar. Hold that position with shoulders down and chest proud.
- Goal: 4–6 holds of 5–15 seconds
- Cue: “Chin over. Shoulders down.”
Step B: Slow Lower (3–6 seconds)
From the top, lower under control to a full hang.
- Goal: 3–5 singles (one rep per set), resting 60–120 seconds
- Cue: Smooth descent, no drop at the bottom.
Step C: Increase Time Under Tension
Work toward 6–10 second lowers, but keep the number of reps low.
- Goal: 2–4 reps total if you’re lowering very slowly
- Cue: Stop before your form turns sloppy.
Why it works: Your muscles are often stronger during lowering than lifting. Eccentrics exploit that fact, helping you “meet” pull-up strength earlier than you think.
A caution: Eccentrics are potent. Two or three sessions a week is plenty. If elbows get cranky, cut eccentric volume in half and prioritize rows and scapular work.
Progression 5: Band-Assisted Pull-Ups → Foot-Assisted Pull-Ups (The Smartest Shortcut)
Assistance isn’t a compromise. It’s a tool. The right assistance lets you practice the full pull-up pattern with enough reps to build skill—without turning every set into a strain.
There are two good versions: band-assisted and foot-assisted (using a box or step).
Step A: Band-Assisted Pull-Ups (8–12 reps)
Loop a band around the bar. Place a knee or foot into it. Choose a band that allows clean reps.
- Goal: 3 sets of 6–10
- Cue: “Pull your elbows down, not back.”
Step B: Foot-Assisted Pull-Ups (6–10 reps)
Place one foot lightly on a box. Use it as little as necessary. You can regulate the help rep by rep, which is valuable.
- Goal: 4 sets of 5–8
- Cue: “Leg is a kickstand, not an engine.”
Step C: Decrease Assistance Over Time
Use a lighter band, or rely less on the foot. The rep quality must stay high.
- Goal: same reps with less help over 3–6 weeks
- Cue: Keep the bottom position controlled.
Why it works: Assisted pull-ups let you practice the upward part of the movement—something eccentrics don’t. Skill matters here: the way you start, the way you keep your ribs down, the way you avoid shrugging.
Progression 6: Isometric Pauses → Partial Reps (Strength Where You’re Weak)
Most beginners have a “sticky spot”—a point in the pull-up where the rep stalls. Often it’s the middle, when elbows are around 90 degrees. Sometimes it’s the start, where you can’t break out of the dead hang.
Isometrics and partial reps let you train those weak links without piling on sloppy full reps.
Step A: Mid-Rep Hold (2–5 seconds)
Use assistance to get to mid-range. Hold with shoulder blades down, ribs controlled.
- Goal: 4–6 holds total
- Cue: “Quiet shoulders.”
Step B: 1½ Reps (Assisted)
Pull up, lower halfway, pull up again, then lower fully. Yes, it burns.
- Goal: 2–3 sets of 3–5 reps
- Cue: Keep the half-lower controlled.
Step C: Partials From the Bottom (Scap + Half Pull)
Start from dead hang, do a scapular pull-up, then pull halfway up, then lower.
- Goal: 3 sets of 3–5
- Cue: No swinging to “cheat” height.
Why it works: It teaches your body to produce force at the exact joint angles that usually fail. It also builds confidence. The pull-up stops being a single cliff you can’t scale and becomes a set of steps you can climb.
Progression 7: Your First Full Pull-Up → Building a Real Set (The Volume Ladder)
The first pull-up is satisfying. But it’s also misleading: one rep can be a fluke—fresh day, perfect adrenaline, perfect grip. What you want is a pull-up you can reproduce without drama.
The secret is small, repeatable volume.
Step A: Singles With Rest (EMOM style)
Do 1 pull-up every minute on the minute for 6–10 minutes. If you can’t do full reps yet, do 1 assisted rep or 1 slow eccentric.
- Goal: 6–10 quality reps total
- Cue: Stop before form degrades.
Step B: Ladders
A ladder might be: 1 rep, rest; 2 reps, rest; 3 reps, rest; then repeat. Adjust the top number to your level.
- Beginner ladder: 1-2-3 for 2 rounds (12 total reps)
- Goal: increase total reps week to week
- Cue: Keep reps crisp.
Step C: “Grease the Groove” (Optional, if joints feel good)
Do a few easy reps throughout the day, never near failure. This works best when you already own at least one clean pull-up.
- Goal: 10–20 easy reps spread out
- Cue: Always leave 2–3 reps in the tank.
Why it works: Pull-ups are as much nervous system skill as muscle. Frequent, clean practice builds efficiency. Efficiency becomes reps. Reps become strength.
How to Put This Into a Simple Weekly Plan
You don’t need seven different workouts. You need a small menu and a sense of progression.
Here’s a straightforward 3-day plan (20–35 minutes per session). Rotate it for 6–10 weeks:
Day A: Skill + Volume
- Scapular pull-ups: 3×6
- Inverted rows: 4×8–12
- Hollow hold: 3×30s
- Dead hang: 3×20s
Day B: Assisted Pulling + Control
- Band- or foot-assisted pull-ups: 4×5–8
- Mid-rep holds: 4×3s
- Slow eccentric pull-ups: 3×1 (3–6 seconds down)
- Optional push-ups: 2×easy set (stop early)
Day C: Strength Emphasis
- Harder inverted rows: 5×5–8
- Assisted pull-ups (lighter assistance): 3×4–6
- Hollow hang: 5×10–15s
- Scapular push-ups: 2×10
Progress rule: Add one rep somewhere each week, or reduce assistance slightly. Don’t do both at once if your elbows are talking back.
Form Notes That Save Shoulders (and Pride)
A pull-up doesn’t need to be theatrical to count.
- Start from a true dead hang (arms straight), unless your shoulder discomfort requires a slightly active hang.
- Think “shoulders down” before you pull. If your shoulders shrug toward your ears, reduce difficulty.
- Keep a quiet rib cage. If you’re arching hard and flaring ribs, you’re borrowing from your lower back.
- Don’t chase chin height with neck strain. Chin-over-bar is fine, but it should come from the pull, not a desperate head jut.
If you want one cue that fixes a lot: “Pull your elbows down.” It shifts attention away from hands and biceps and toward the back muscles that actually do the work.
A Word About Elbows, Because They Will Try to Negotiate
The most common beginner complaint during pull-up training is a cranky inner elbow or forearm tightness. This is usually not catastrophic. It’s your tissue telling you the volume or intensity ramped too quickly.
What helps:
- Reduce eccentric volume (negatives) first.
- Use more rows for a week, fewer vertical pulls.
- Shorter hangs, more sets.
- Keep grips varied if possible (neutral-grip bars are often friendlier).
- Rest a little more between sets.
What doesn’t help:
- Testing pull-ups every day to “see if it’s better.”
- Grinding reps to failure repeatedly.
The body learns pull-ups through practice, not argument.
The Point Isn’t the Bar. It’s What the Bar Represents
If you grew up in a fitness culture that treats pull-ups like a rite of passage, it’s easy to make them symbolic: a marker of discipline, toughness, worthiness. But the bar doesn’t care about your narrative.
That can be freeing.
A pull-up is a skill you earn the same way you earn any skill: by doing the beginner work without resentment. By showing up for the unglamorous sets. By accepting that some days you’ll feel light and some days you’ll feel like gravity doubled overnight.
And then—quietly, almost unfairly—it happens. One day you pull and you rise. Not because you became a new person in a week, but because you became the kind of person who practiced.
The progressions above aren’t tricks. They’re steps. If you take them in order, and you take them seriously, the pull-up stops being a wall and starts being a door.
And doors, as a rule, open.


 Sign In